Using Subtasks and Checklists in Jira


When your Jira Issues are too big or too complex, you can break them down into smaller pieces, Subtasks, and assign different people to each. This gives both you and the assignee a better picture of that main issue’s progress.
However, if you feel like dividing your Issues is not the ultimate way to organize your work in Jira, you can use Checklists. Adding checklists to your Jira workflow allows you to add task lists and track work progress to some extent without creating separate Subtasks at all. In this article, we will discuss both Subtasks and Checklists and will explain when it’s best to use each.
How do Jira Subtasks work?
To create a Subtask, click the Create Subtask button below your task’s title – all your Subtasks will always be visible on the same page as the main Issue. What is important is that as long as subtasks are part of that parent Issue, they are also standalone and independent pieces of work that you can track separately.
When breaking Issues into Subtasks is a good idea?
There are certain cases when it is advisable to divide Issues into smaller pieces. Consider it when:
The parent task is too large to track on its own.
Different parts of the Issue have various deadlines.
You need to delegate work among different team members.
When working with Subtasks, there are some rules to keep in mind. First of all, Subtasks cannot be further delegated (aka. divided). If you really need to go further down, you will need to turn the Subtask into an Issue first. So it’s important to define how detailed you want your subtasks to be beforehand.
Then again, Subtasks can’t be moved between issues. In other words, you can’t change the parent issue of an already created Subtask. Last but not least, you can only turn an issue into a Subtask if it doesn’t already have its own Subtasks.
How does Smart Checklist work?
Getting started with Smart Checklist is very simple. Follow the steps below:
Download and install Smart Checklist for Jira.
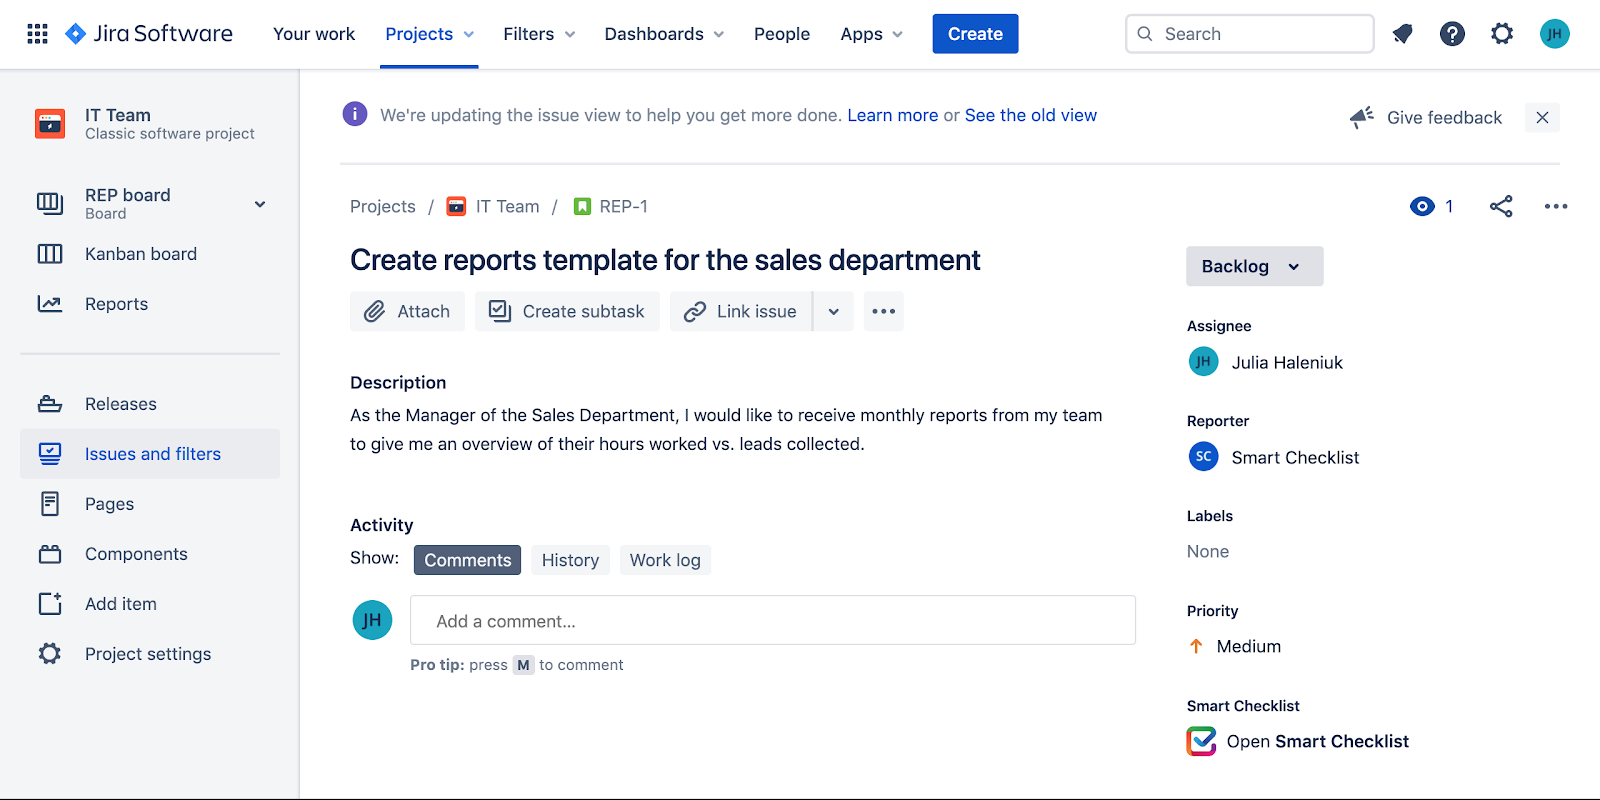
Once installed, the Smart Checklist widget will be visible in the right-hand panel of every Issue. Click on it to start adding items.
You can edit the checklist by typing in the inputs one by one or click the Pen icon to edit the entire list at once in the Full-screen Editor.
In the Full-screen Editor, you can use special Markdown to format each item on the list .i.e. emphasize it with bold, italic, or an underline. You can also mention teammates or add deadlines.
Click Save once you’re done. The Checklist will appear in the right-side panel but you can also move it to the center so that the list is visible right under the main task description.
When to use: Subtask vs Checklist
As with most things, there are some rules of thumb when it’s best to go with a Subtask or a Checklist for your Jira Issue.
Subtasks
Using subtasks comes with many benefits, such as full transparency, the ability to plan day-to-day operations, or tracking progress.
Usually, it’s best to Subtask when the parent issue is a large task that influences many areas and thus has to be divided into smaller standalone tasks.
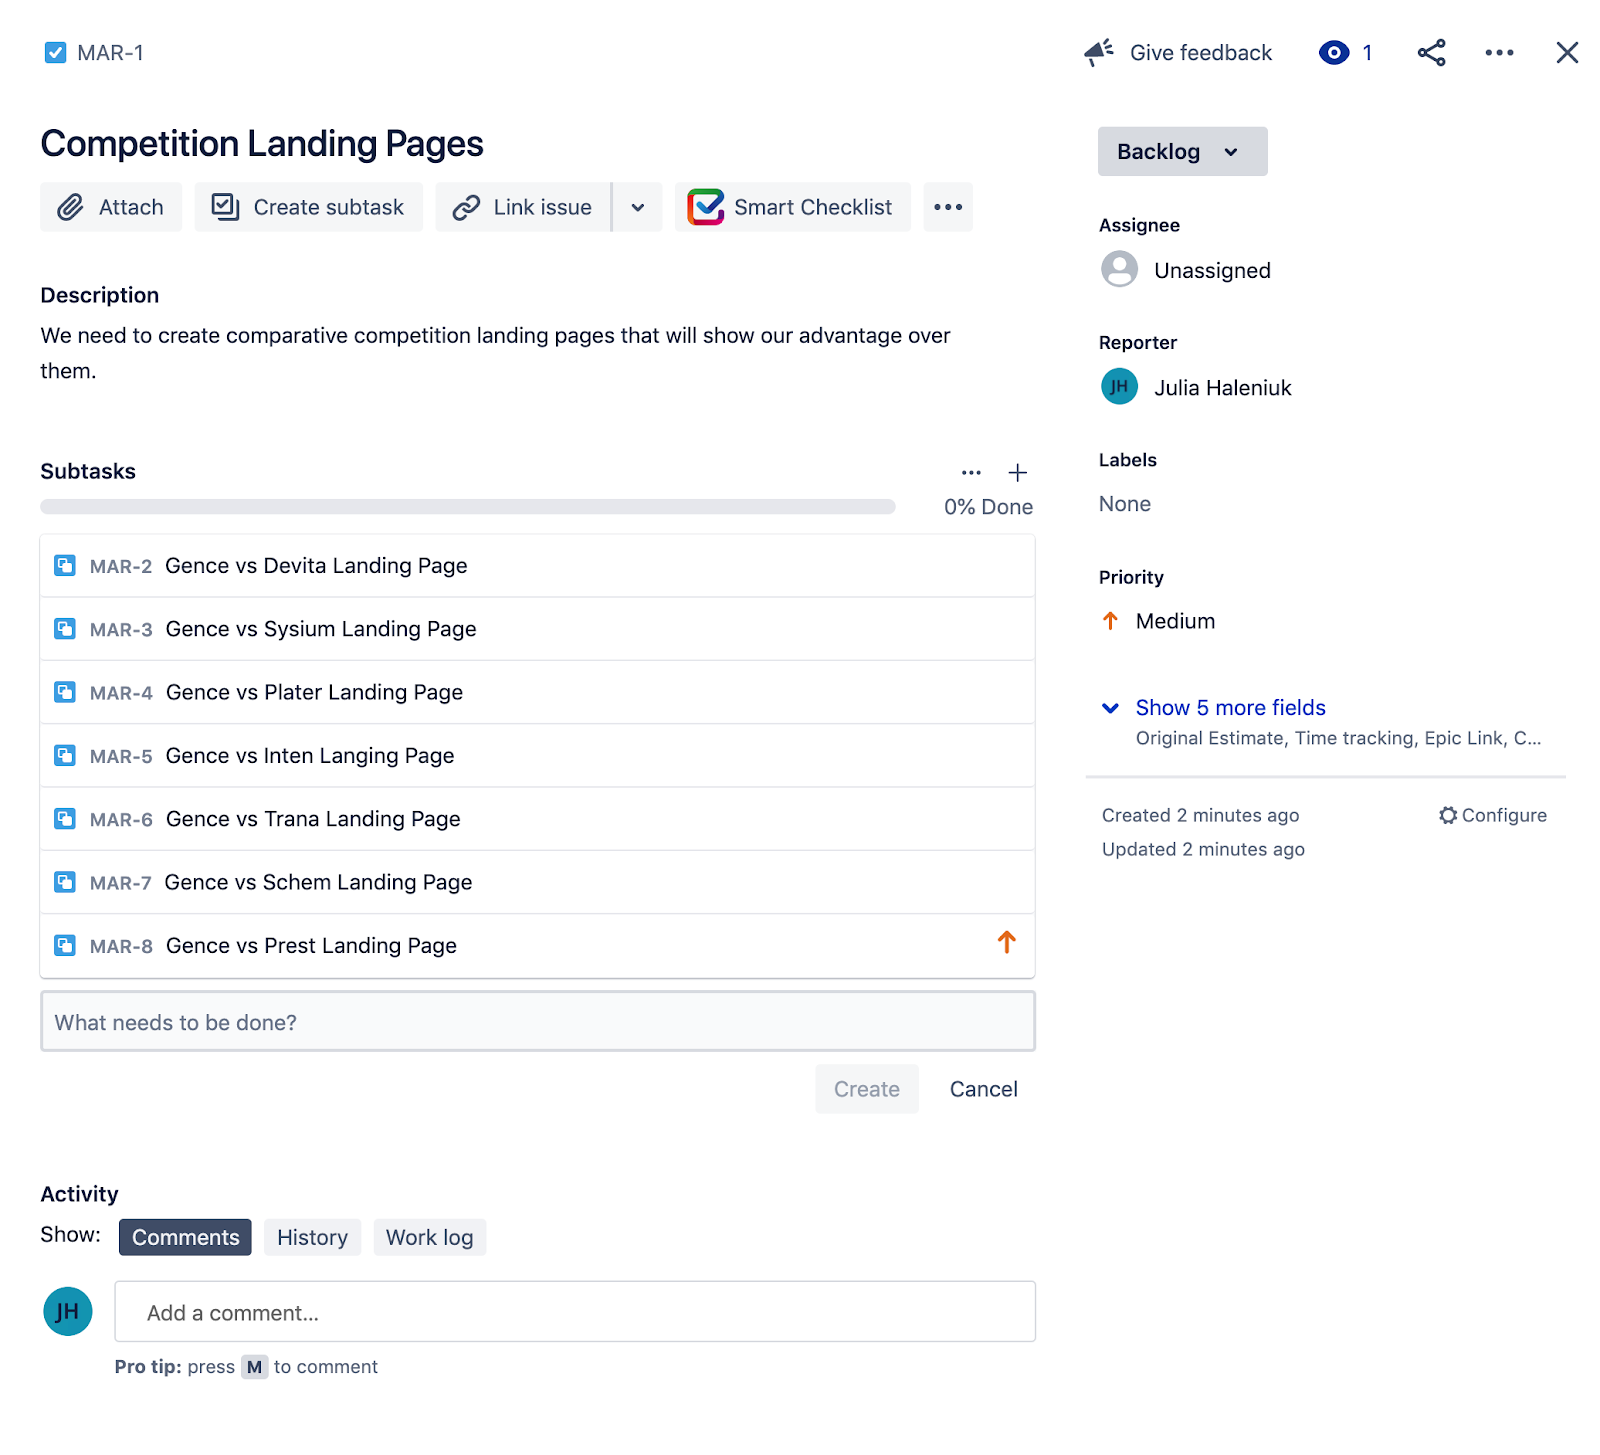
- Such a case would be with a large task named ”Prepare Competition Comparison Landing Pages” where several different landing pages are created and more than one team is involved – marketing, content, and IT. Preparing the design, copy, then coding the website and publishing it are completely separate tasks.
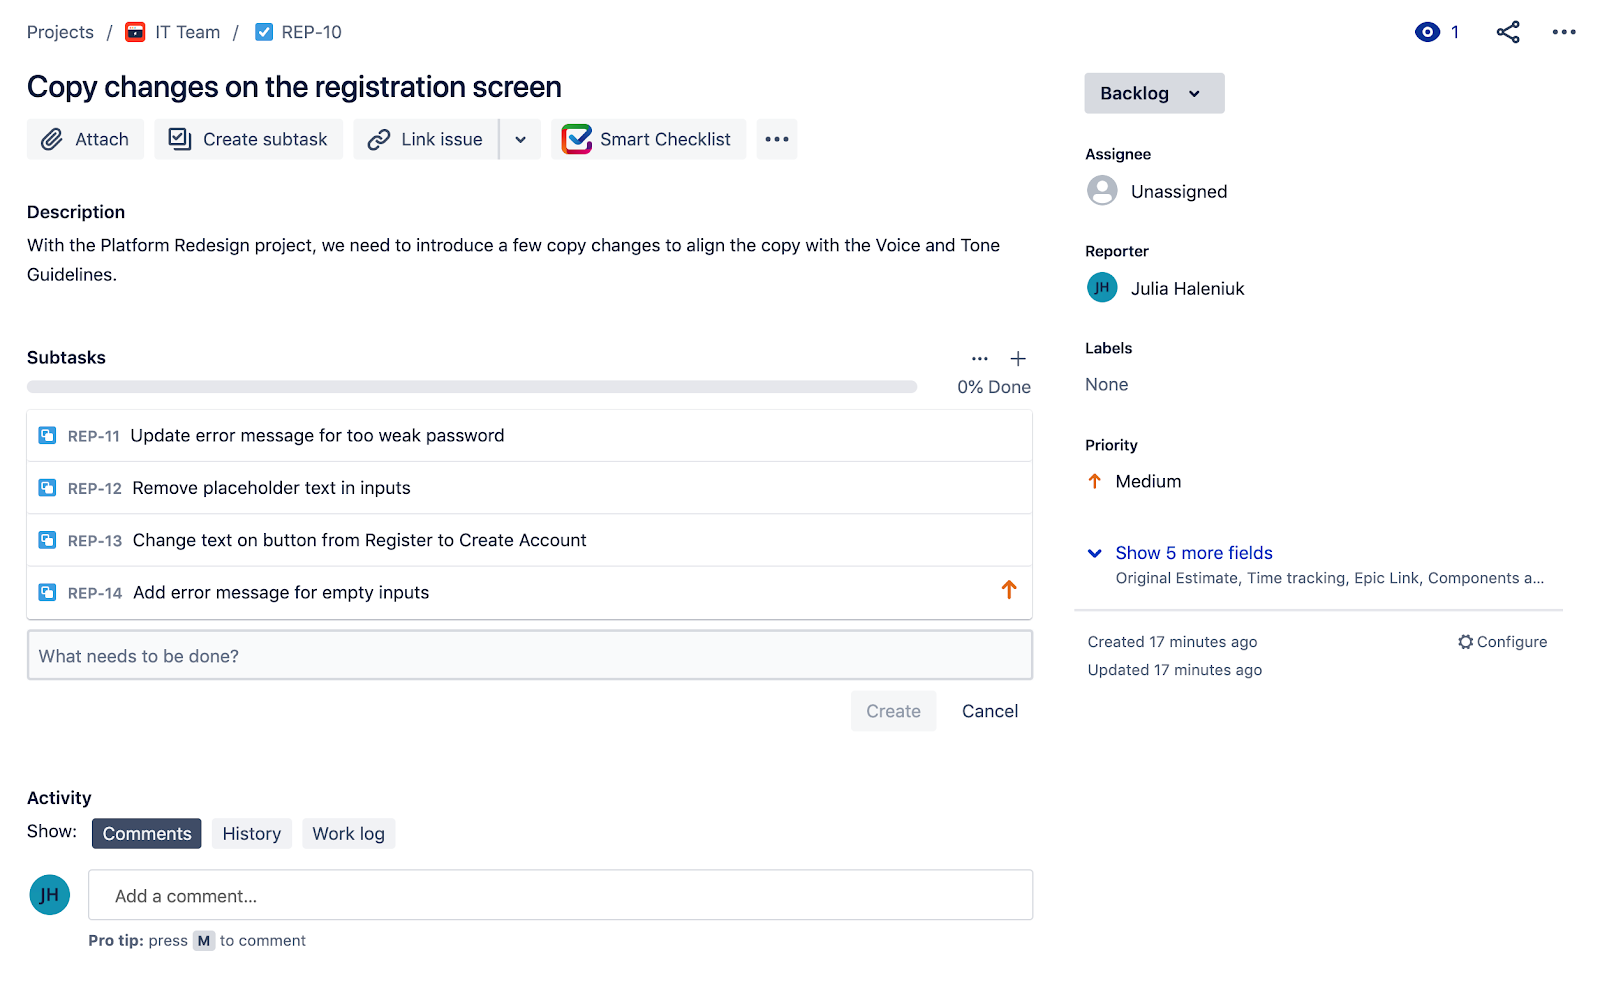
- Also, Subtasks come handy when the work of the main task needs to be delegated between different team members and tracked separately – even if one team handles all the work. Such a case would be for example with a “Redesign of a Sign In User Flow” where the copywriter suggests copy changes on various screens which are then handled by different developers.
What’s great about subtasks is that, whenever they get completed, they give you a sense of progression and make the project move forward. Many times they also come into a great help for effective estimates in cost and deadlines.
Checklists
As far as Subtasks are great, there are times when you see that these small tasks will rather “sit inside” the main Issue and depend on it. In such a case, instead of creating Subtasks, it’s better to just go with Smart Checklist for Jira. These lists are great in many ways! They make everything so clear and obvious at first sight.
- Checklists work perfectly when you want to include the Definition of Done for your Jira Issue and keep it inside of it at all times.
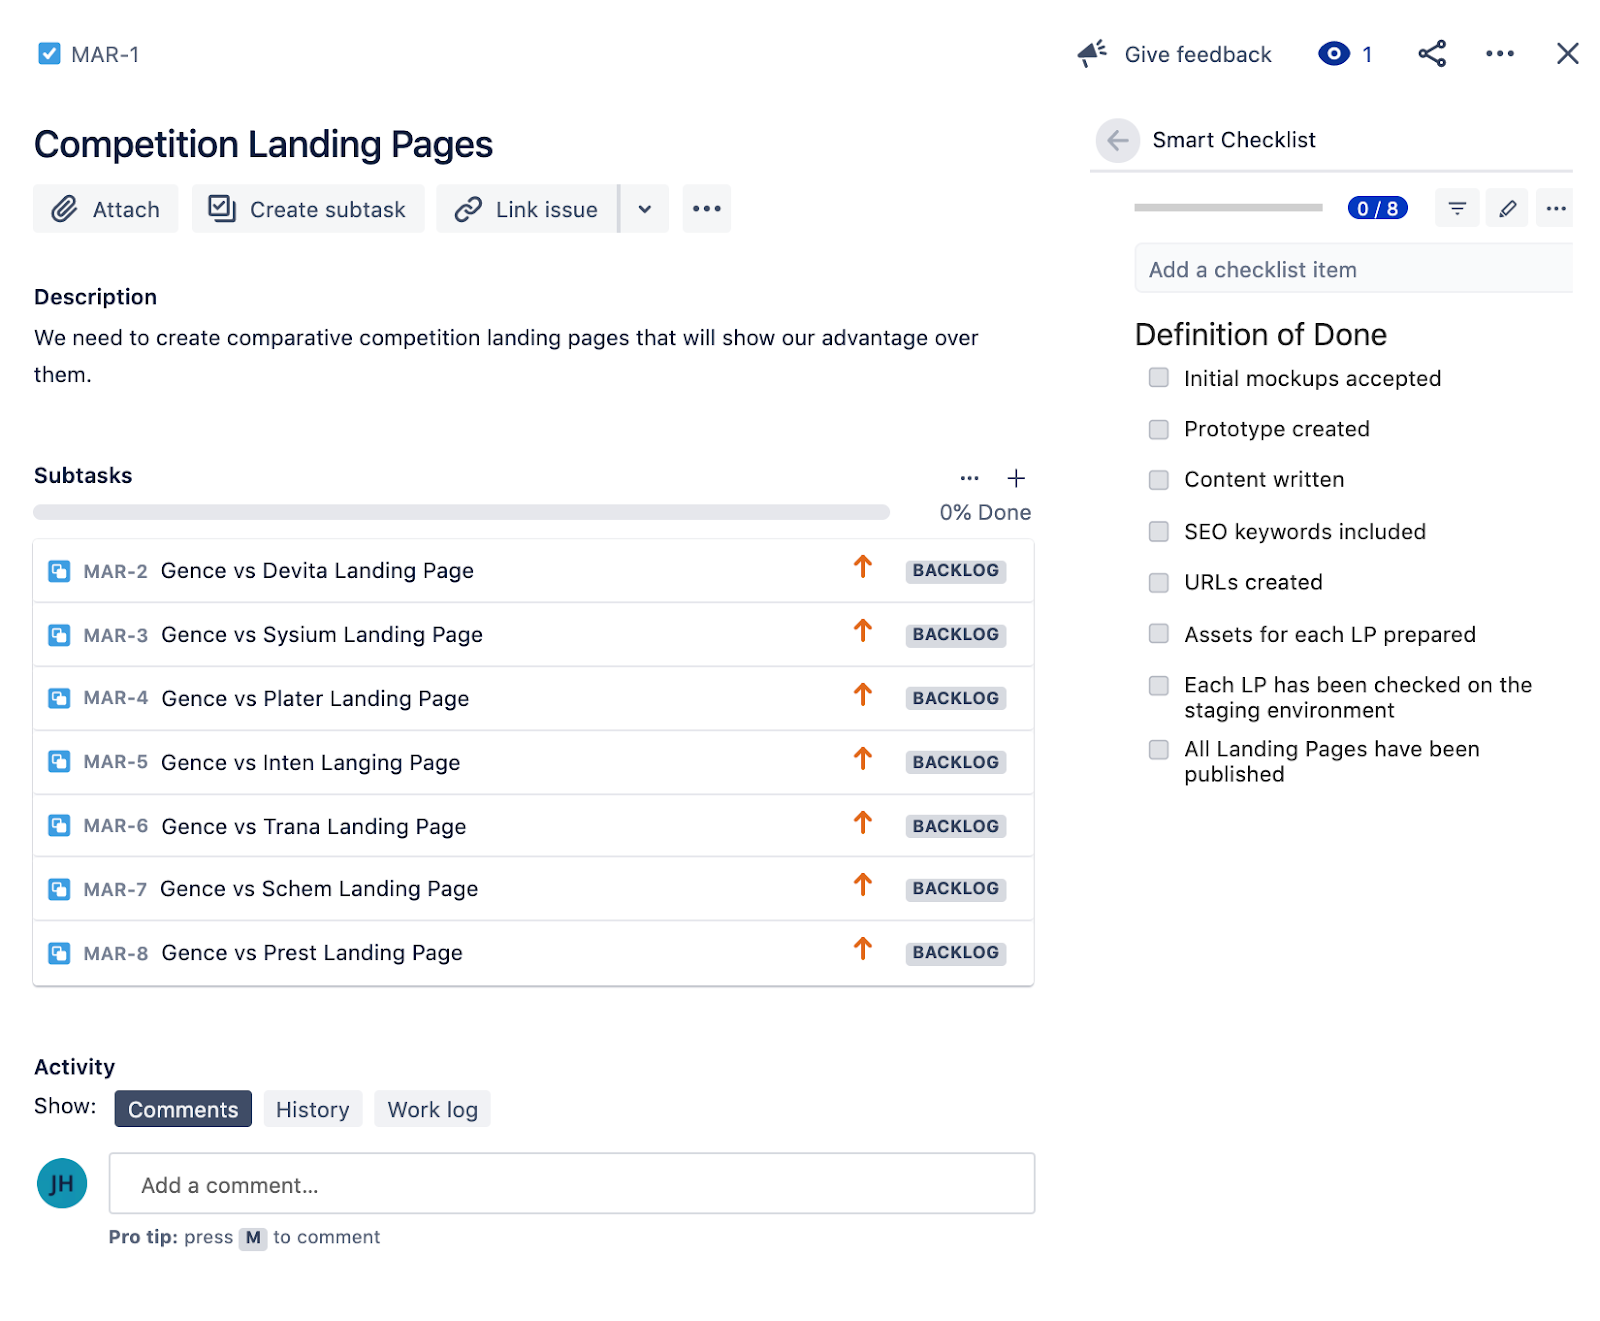
- Following the Definition of Done example, checklists also work great for Acceptance Criteria Lists, such as shown below.

- Next, you can go with checklists when the main issue is a Bug Fix and the description needs to inform the QA team of the steps to follow to get the result.

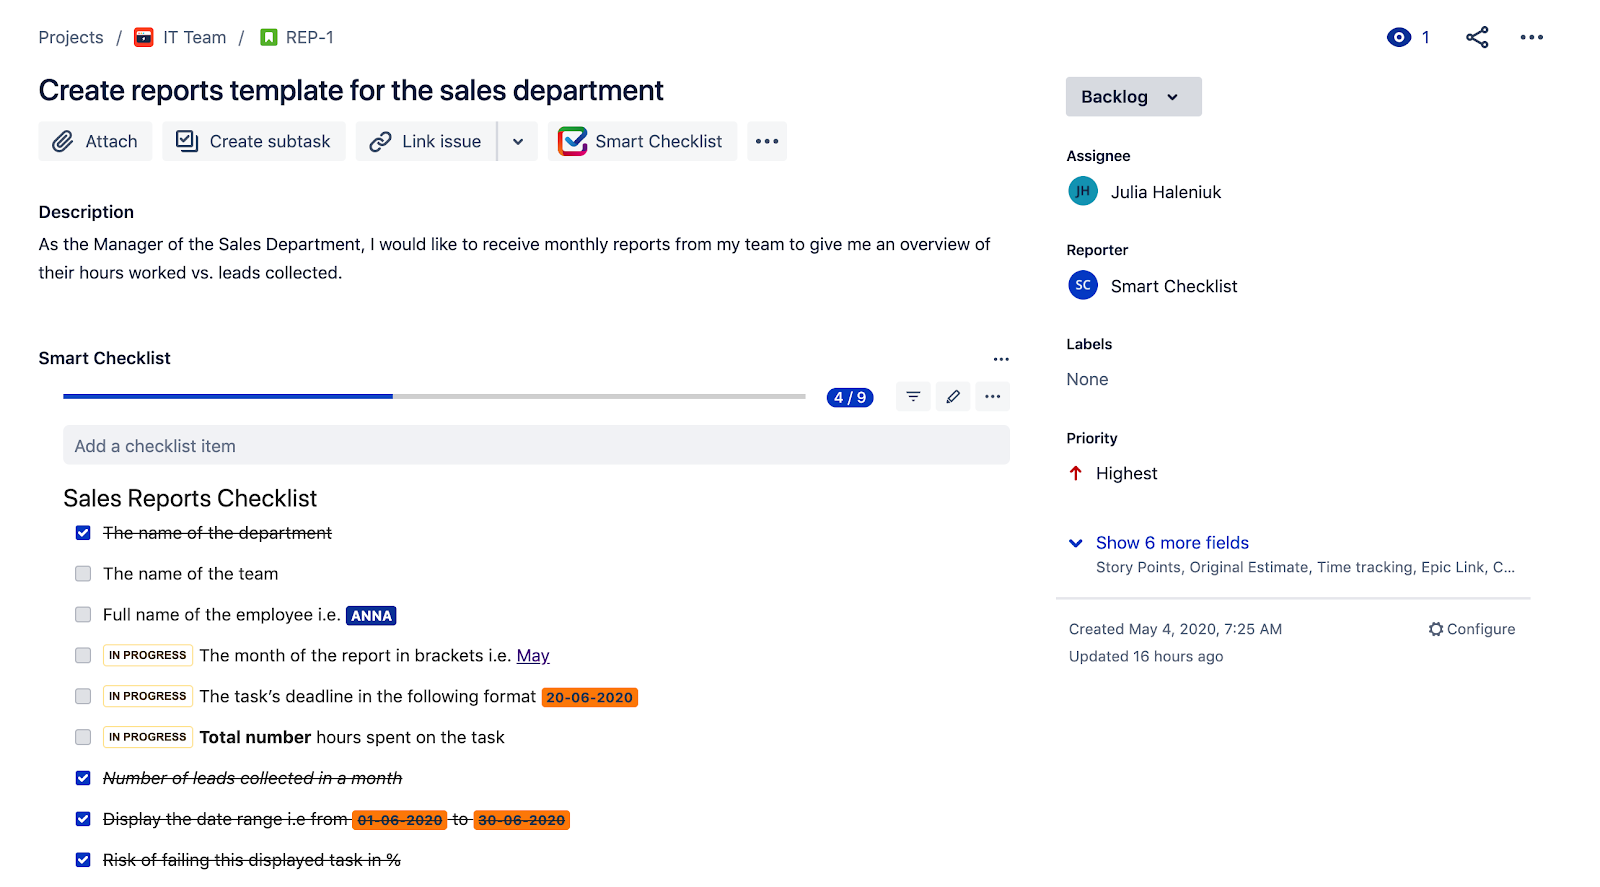
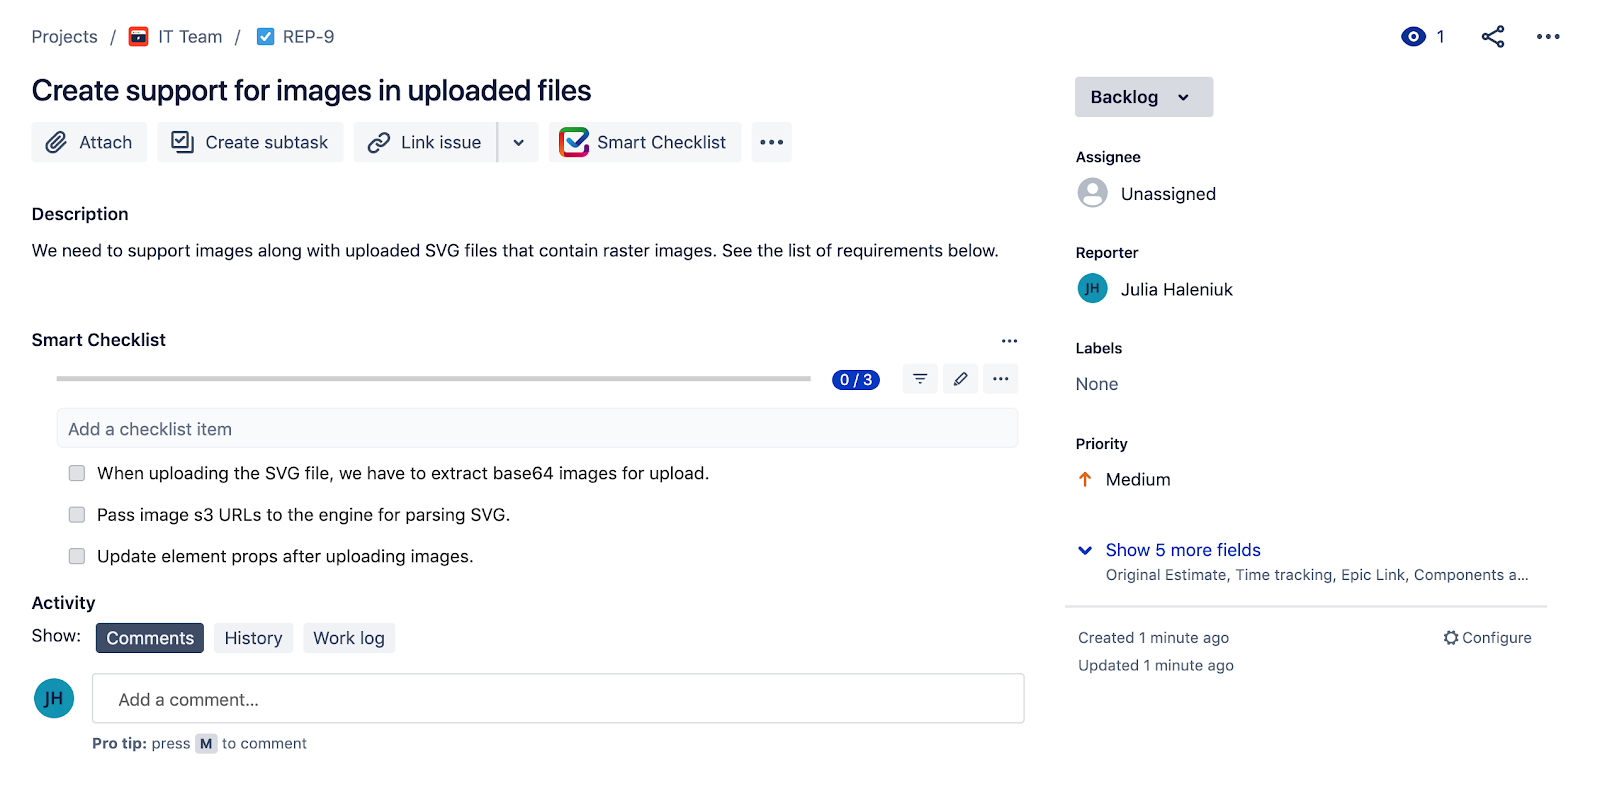
- Finally, it’s better to use a checklist when the main Issue contains a list of requirements of the main task, such as below.
Conclusions
There are always some good reasons to use either Subtasks or Smart Checklists in your Jira Issues. Both ways are great and there is no better or worse. It is rather the matter of following Jira best practices for what works best and when. That’s why our final conclusion and suggestion would be to simply try both and then decide which one is most convenient for your own way of organizing your Jira Issues.